See the steps to creating a “Rose”.
-

Before anything, I prepare my studio & pray.
-

1. Painting the negative onto glass
-

2. Applying the cyanotype ingredients to the paper
-

3. Exposing the negative to the sun
-

4. Rinsing off the solution
The watercolor paper is gently rinsed off...becomes a gorgeous blue!
-

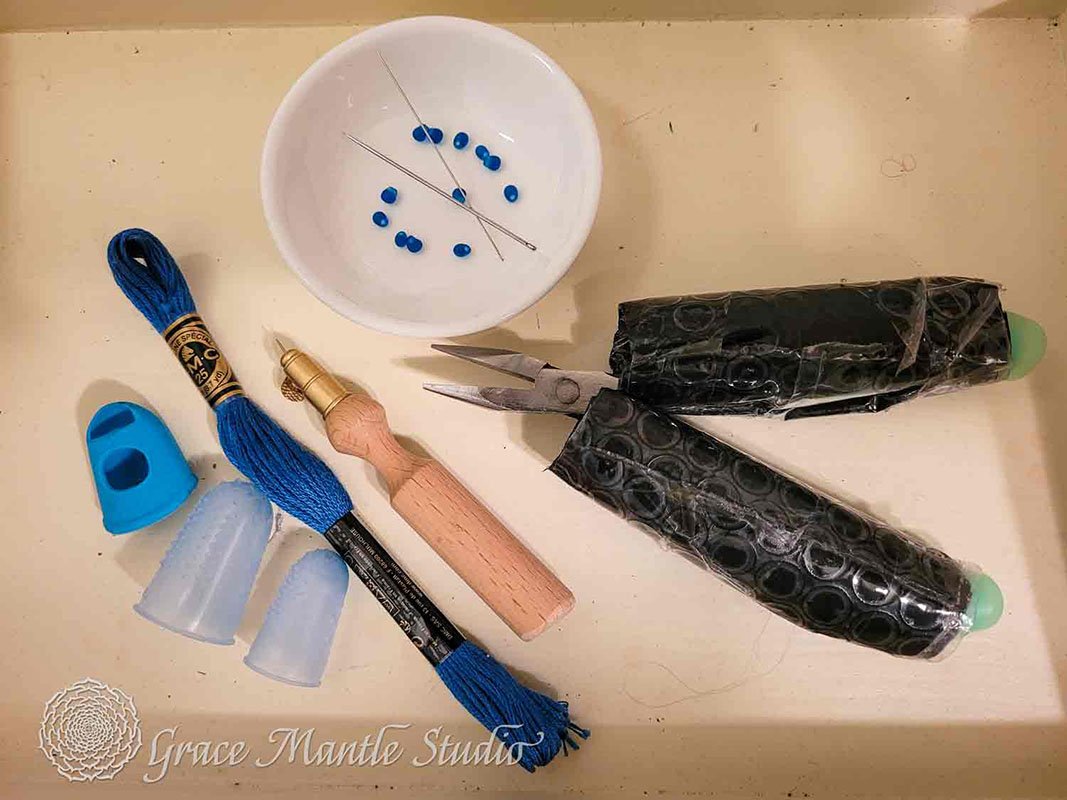
5. Laying out the beads, thread, & tools
I used sheep wool for the cross to symbolize our precious Savior's sacrifice. The beads are silver & glass.
-

6. Embroidering the center
I used a prepared cotton cyanotype square from Jacquard for the base.
-

7. Ready to stitch onto the watercolor paper
-

8. Preparing to embroider the watercolor paper
The watercolor paper is very thick. I made the wooden-handled pin & punched the stitching lines.
-

9. "Body & Blood, Living Water"
The center piece was stitched on. I embroidered through the punched holes, and added glass beads to the "water". Japanese silver thread represents the thorny crown, and also His emanating light.
-

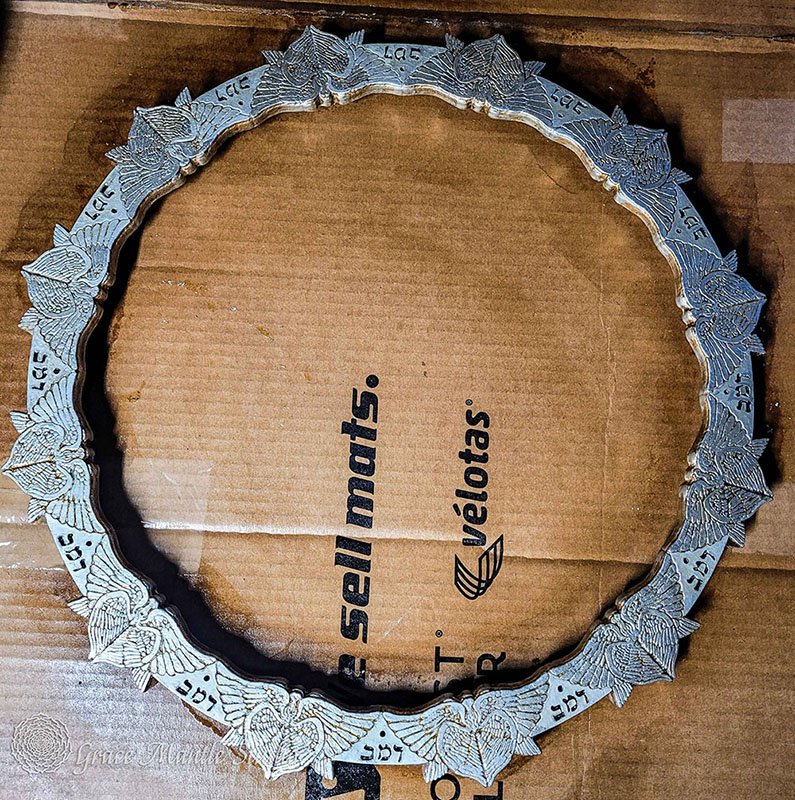
10. Charcoal design for the frame
Represents the Seraphim giving honor & glory to Jesus Christ, Yeshua HaMashiach.
-

11. Laser-cut wood frame base
The Hebrew letters are Dalet Mem Bet, which, according to the Kabbalah, mean "reverence for God".
-

12. Silver-leafing the frame
I applied chalk & hide glue gesso to the wood, creating more dimension. Then I applied silver leaf using the water method. I worked on the frame a long time, using multiple methods to age it.
-

13. Preparing natural shellac
Natural shellac is made from prepared resin collected from tree bark in Indonesia. It is dissolved in pure alcohol.
-

14. Completed frame top drying
Here is the completed frame top drying in the sun after being sprayed with multiple layers of shellac.
-

15. Laser engraving the back
I used the XTool D1 Pro laser for engraving & cutting out the back.
-

16. Completed frame back
The name of Jesus in many languages encircles a representation of "His body & blood". Note the DNA spirals...
-

17. Preparing to assemble the whole
I used several different metal elements for the hardware: steel pins & nails for fastening frame front to frame back, a cut portion of a decorative clock for the "winding & setting" piece & more.
-

18. Antique nails & clock chain
I started with a chain from a cuckoo clock (in the photos), but switched to a welded brass Emperor Grandfather clock chain. The nails are square, hand-forged American steel antiques.
-

19. Laser burning the title & signature plates
I use the XTool F1 laser for engraving metal, & for many smaller wood pieces, too.
-

20. Hardware install
Here is the complete piece back, with the hardware & label plates put in place. The back of the frame is silver-waxed rather than leafed.
-

21. Completed Art Prayer!
The second rose in the Garden or Roses A series: "Behold, I Come Quickly". There will be many more.
